
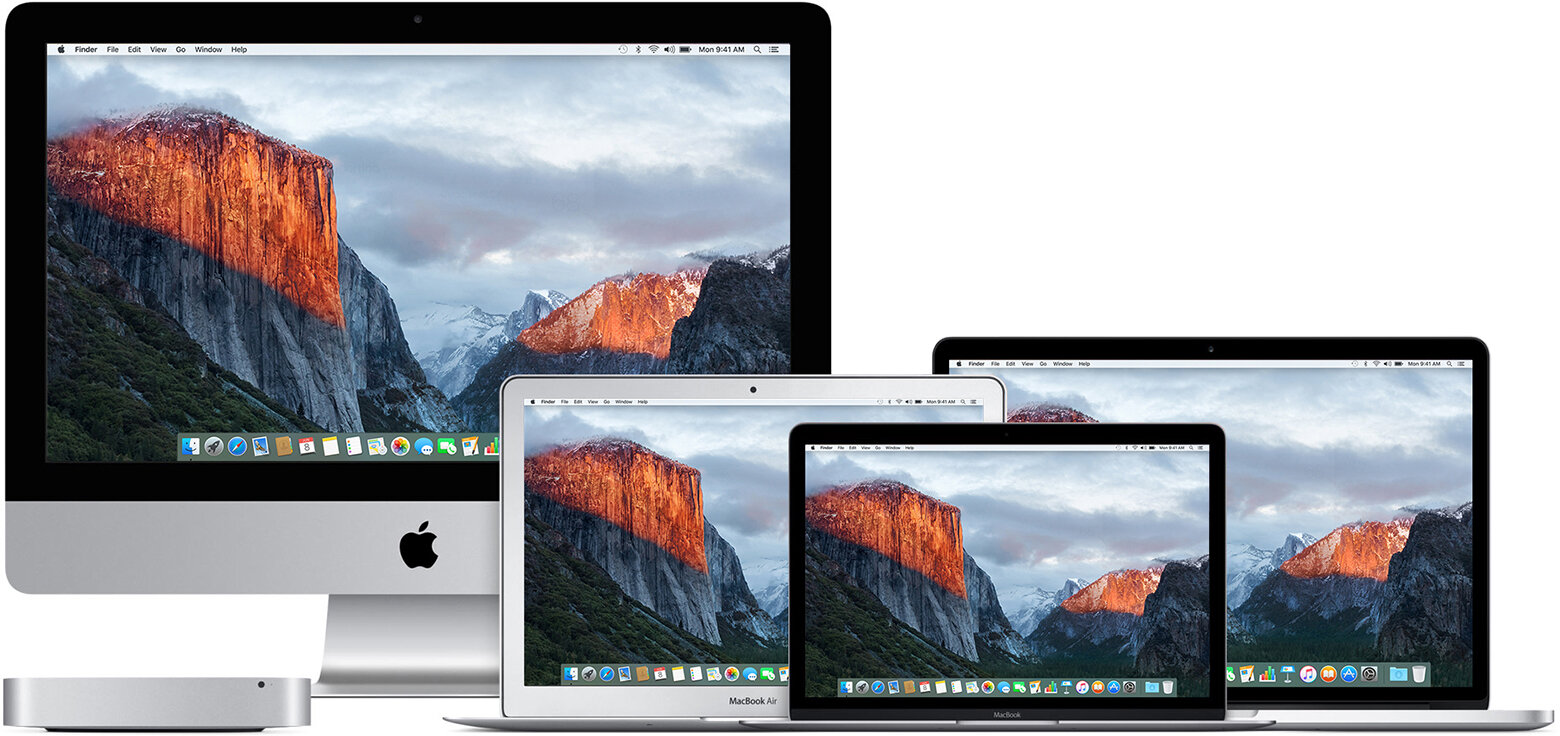
Download Mac OS X 10.11 El Capitan

elcapitan-update-software-app-store.jpg

OS X El Capitan remains available for Mac computers that can't upgrade to macOS Catalina, Mojave, High Sierra, or Sierra, or that need to upgrade to El Capitan first.

Check compatibility

You can upgrade to OS X El Capitan from OS X Snow Leopard or later on any of the following Mac models. Your Mac also needs at least 2GB of memory and 8.8GB of available storage space.

MacBook introduced in 2009 or later, plus MacBook (13-inch, Aluminum, Late 2008)
MacBook Air introduced in late 2008 or later
MacBook Pro introduced in mid 2007 or later
Mac mini introduced in early 2009 or later
iMac introduced in mid 2007 or later
Mac Pro introduced in early 2008 or later
Xserve models introduced in early 2009

To find your Mac model, memory, storage space, and macOS version, choose About This Mac from the Apple menu . If your Mac isn't compatible with OS X El Capitan, the installer will let you know.


Make a backup

Before installing any upgrade, it’s a good idea to back up your Mac. Time Machine makes it simple, and other backup methods are also available. Learn how to back up your Mac.


Get connected

It takes time to download and install OS X, so make sure that you have a reliable Internet connection. If you're using a Mac notebook computer, plug it into AC power. 


Download OS X El Capitan

For the strongest security and latest features, find out whether you can upgrade to macOS Catalina, the latest version of macOS.

If you still need OS X El Capitan, use this link: Download OS X El Capitan. A file named InstallMacOSX.dmg will download to your Mac.


Install the macOS installer

Double-click the downloaded file to open a window showing its contents. Then double-click the file within, named InstallMacOSX.pkg.

Follow the onscreen instructions, which will guide you through the steps necessary to install.


Begin installation

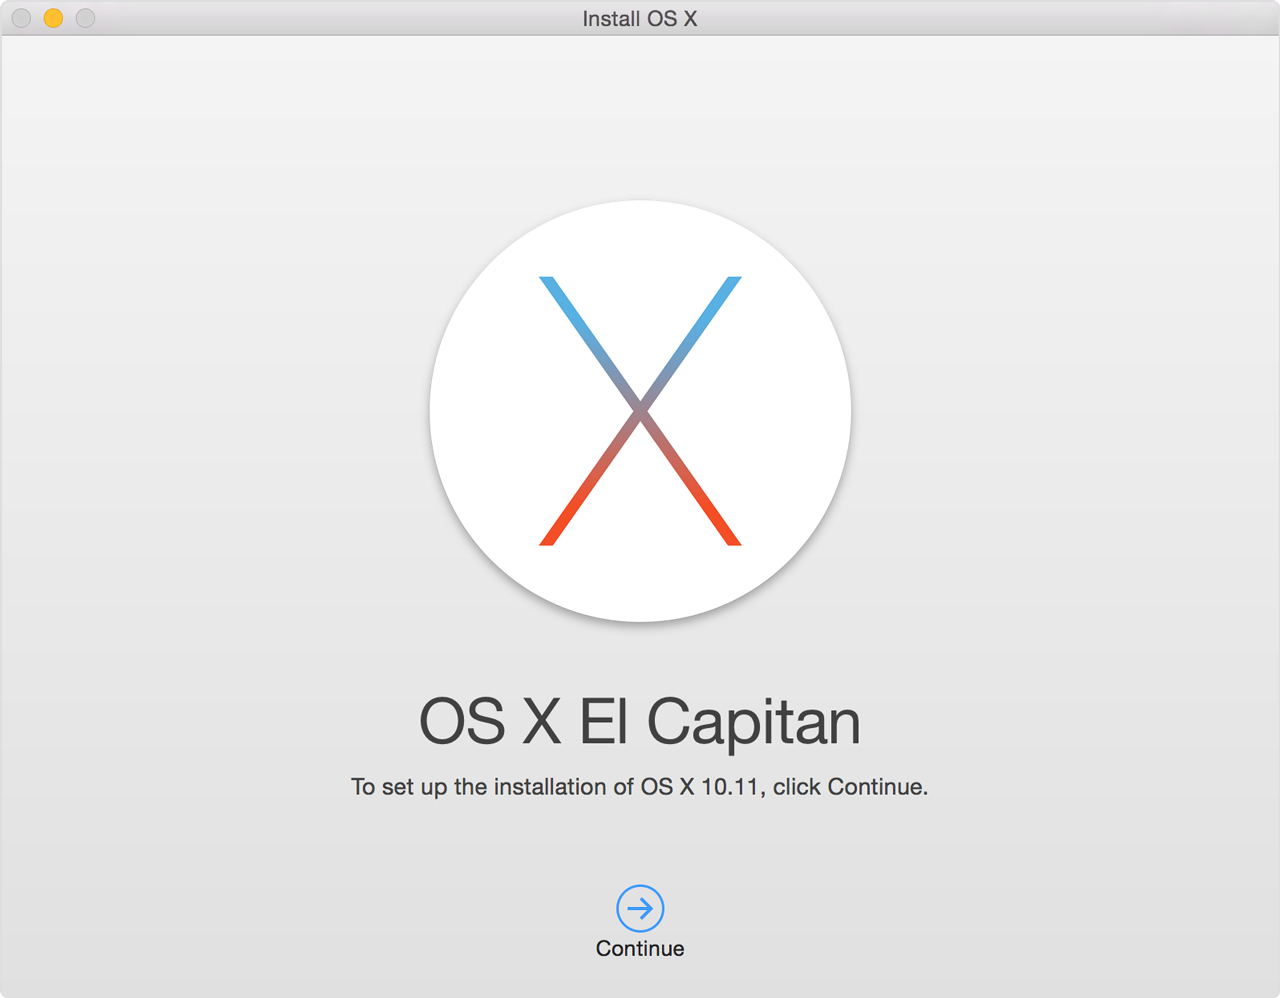
After installation of the installer is complete, open the Applications folder on your Mac, then double-click the file named Install OS X El Capitan.

Click Continue and follow the onscreen instructions. You might find it easiest to begin installation in the evening so that it can complete overnight, if needed. 
osx-elcapitan-install.png


Allow installation to complete

Please allow installation to complete without putting your Mac to sleep or closing its lid. Your Mac might restart, show a progress bar, or show a blank screen several times as it installs both OS X and related updates to your Mac firmware.

Learn more

Useful?

Erase a volume using Disk Utility on Mac

You can erase and reformat disks or volumes. Erasing a disk deletes everything on it. Erasing a volume deletes all the files on that volume, but does not affect other volumes.

  1. If you have any files you want to save, copy them to another disk or volume before you erase the disk or volume they are on.

  2. Open the Disk Utility app  on your Mac using one of the following methods, depending on the type of disk or volume you want to erase:

    • If you want to erase your startup disk or startup volume: Start up from macOS Recovery, then choose Disk Utility from the macOS Utilities window.

    • If you want to erase any other type of disk or volume: Double-click Disk Utility in the /Applications/Utilities folder. 

  3. Choose View > Show All Devices.

  4. Select the disk or volume in the sidebar, then click the Erase button .

  5. If you’re erasing a disk, click the Scheme pop-up menu, then choose a partition scheme.

  6. Click the Format pop-up menu, then choose a choose a file system format.

  7. Enter a name for the disk or volume.

  8. (Optional) If available, click Security Options, use the slider to choose how many times to write over the erased data, then click OK.

    Secure erase options are available only for some types of storage devices. If the Security Options button is not available, Disk Utility cannot perform a secure erase on the storage device.

    Writing over the data three times meets the U.S. Department of Energy standard for securely erasing magnetic media. Writing over the data seven times meets the U.S. Department of Defense 5220-22-M standard.

  9. Click Erase, then click Done.

Note: With a solid-state drive (SSD), secure erase options are not available in Disk Utility. For more security, consider turning on FileVault encryption when you start using your SSD drive.

Restore your macOS and files from a backup

Restore both macOS and your files

These steps erase your hard disk, then use your backup to restore both your files and the specific version of macOS you were using when you created the backup.

  1. Make sure that your Time Machine backup disk is connected and turned on.
    If your backup disk isn't available, keep going: You might be able to restore from a local snapshot on your startup disk.

  2. Turn on your Mac, then immediately press and hold Command (⌘)-R to start up from macOS Recovery. Release the keys when you see the Apple logo or spinning globe.

  3. When you see the macOS Utilities window, choose the option to restore from a Time Machine Backup.

  4. Click Continue until you're asked to select a restore source, then select your Time Machine backup disk. Or select your startup disk (Macintosh HD), which might have a local snapshot you can restore from.

  5. Click Continue. If your disk is encrypted, you're asked to unlock the disk: Enter the administrator password you used when setting up Time Machine, then click Continue again.

  6. Select a backup, if available, then click Continue. 

  7. Select a destination disk, which will receive the contents of your backup. If restoring from a local snapshot, you aren't asked to select a destination. 

  8. Click Restore or Continue. If your Mac has FileVault turned on, you're asked to enter your administrator password to unlock the disk.

  9. When done, restart your Mac.
      

macos-mojave-recovery-restore-from-time-machine-backup.jpg
macos-mojave-recovery-restore-from-time-machine-select-restore-source.jpg
macos-mojave-recovery-restore-from-time-machine-select-backup.jpg
macos-mojave-recovery-restore-from-time-machine-select-destination.jpg

blocking

IMG_7312.jpeg

Block phone numbers, contacts, and emails on your iPhone, iPad, or iPod touch

You can block phone numbers, contacts, and emails on your device. You can also filter iMessages from unknown senders and report iMessages that look like spam or junk.

Block a phone number, contact, or email

There are a few ways that you can block phone numbers, contacts, and emails.

Phone

If you're in the Phone app under Recents, tap  next to the phone number or contact that you want to block. Scroll to the bottom of your screen, then tap Block this Caller.

FaceTime

If you're in the FaceTime app, tap  next to the phone number, contact, or email address that you want to block. Scroll to the bottom of your screen, then tap Block this Caller.

Messages

If you're in Messages, open the conversation, tap the contact at the top of the conversation, then tap . Tap the name, phone number or email address, scroll to the bottom of the screen, then tap Block this Caller.


Mail

If you're in the Mail app, open the email that has the contact that you want to block, then tap the contact at the top. Tap Block this Contact.

When you block a phone number or contact, they can still leave a voicemail, but you won't get a notification. Messages that are sent or received won't be delivered. Also, the contact won't get a notification that the call or message was blocked. When you block an email address from Mail, it goes to the trash folder. Email blocking works across all your Apple devices.

You can also enable settings to block spam phone calls.


Manage your blocked phone numbers, contacts, and emails

To see the phone numbers, contacts, and email addresses that you've blocked from Phone, FaceTime, Messages, or Mail:

Phone

Go to Settings > Phone. Under Call Silencing and Blocked Contacts, tap Blocked Contacts to see the list.

FaceTime

Go to Settings > FaceTime. Under Calls, tap Blocked Contacts.

Messages

Go to Settings > Messages. Under SMS/MMS, tap Blocked Contacts.

Mail 

Go to Settings > Mail. Under Threading, tap Blocked.


From these screens, you can add or remove blocked phone numbers, contacts, or email addresses.

To add a contact from Phone, go to Settings > Phone > Blocked Contacts scroll to the bottom of the screen, then tap Add New. Then tap the contact that you want to block. To add a contact from Messages or FaceTime, go to Settings > Messages or Settings > FaceTime, tap Blocked Contacts. Then scroll down, tap Add New, then select the contact that you want to block. To add a contact from Mail, go to Settings > Mail, then tap Blocked. Scroll down, tap Add New, then enter the contact you want to block. To unblock a phone number, contact, or email address, swipe left over the entry, then tap Unblock.


Filter iMessages from unknown senders

You can filter iMessages from people who aren't saved in your Contacts.

To filter iMessages, go to Settings > Messages and turn on Filter Unknown Senders.

In Messages, you'll see a new tab for Unknown Senders but you won't get notifications for these iMessages.


Report spam or junk in the Messages app

You can report iMessages that look like spam or junk from the Messages app. If you get an iMessage from someone who's not saved in your Contacts, you'll see a Report Junk link under the message.

Tap Report Junk, then tap Delete and Report Junk. Messages will forward the sender's information and the message to Apple, as well as delete the message from your device. You can't undo deleting a message.

Reporting junk doesn't block the sender from being able to send another message. If you don't want to receive these messages, you need to block the contact.

To report SMS and MMS messages, contact your carrier.


Learn more